A check is an individual task that you complete on the Checkit App.

Instructions in Checks
Checks may contain instructions to guide you.
Scroll up/down or tap Show more/Show less to view longer instructions. See image 2.
.gif?cb=3828d7187457d2e4b61f40ebcbbbf23d)
Links in Checks
This feature is currently only available on the Checkit Android App
Checks may contain links (in blue) to websites, documents, photos, and videos to guide you.
Tap on the link to open it. Tap the back arrow to return to the check. See image 3.
You can view all documents assigned to your location via the ellipsis icon. See image 4. See View Documents on the Checkit App for instructions.
Photos in Checks
You can take a photo and attach it to the check if instructed/necessary. See image 5.
See Attach a Photo to a Check for instructions.

Types of Checks
How you complete a check will depend on which type it is. For example, you may be required to select an option, type a response, etc. See below for more details.
When you have completed the check, tap Confirm.
If you are unable to complete the check, tap Cancel to return to the checklist.
Temperature Check
These checks require you to enter a temperature reading using a probe.
If the check:
-
Displays a probe icon, use a Checkit or ETI probe which will send the reading directly to the app via Bluetooth. See Probes for instructions.
-
Does not display a probe icon, use your own probes and manually type the reading into the device (see image 6)
Confirm Instruction
These types of checks require you to confirm that you have completed a task. See image 7.
List of Options
These checks require you to select an option from a list. See image 8.
You can only select one option.
Free Text Input
These checks require you to type a response. See image 9.
When you tap in the text field, the keypad will appear.
Free Numeric Input
These checks require you to enter a number. See image 10.
When you tap the text field, the number pad will appear.
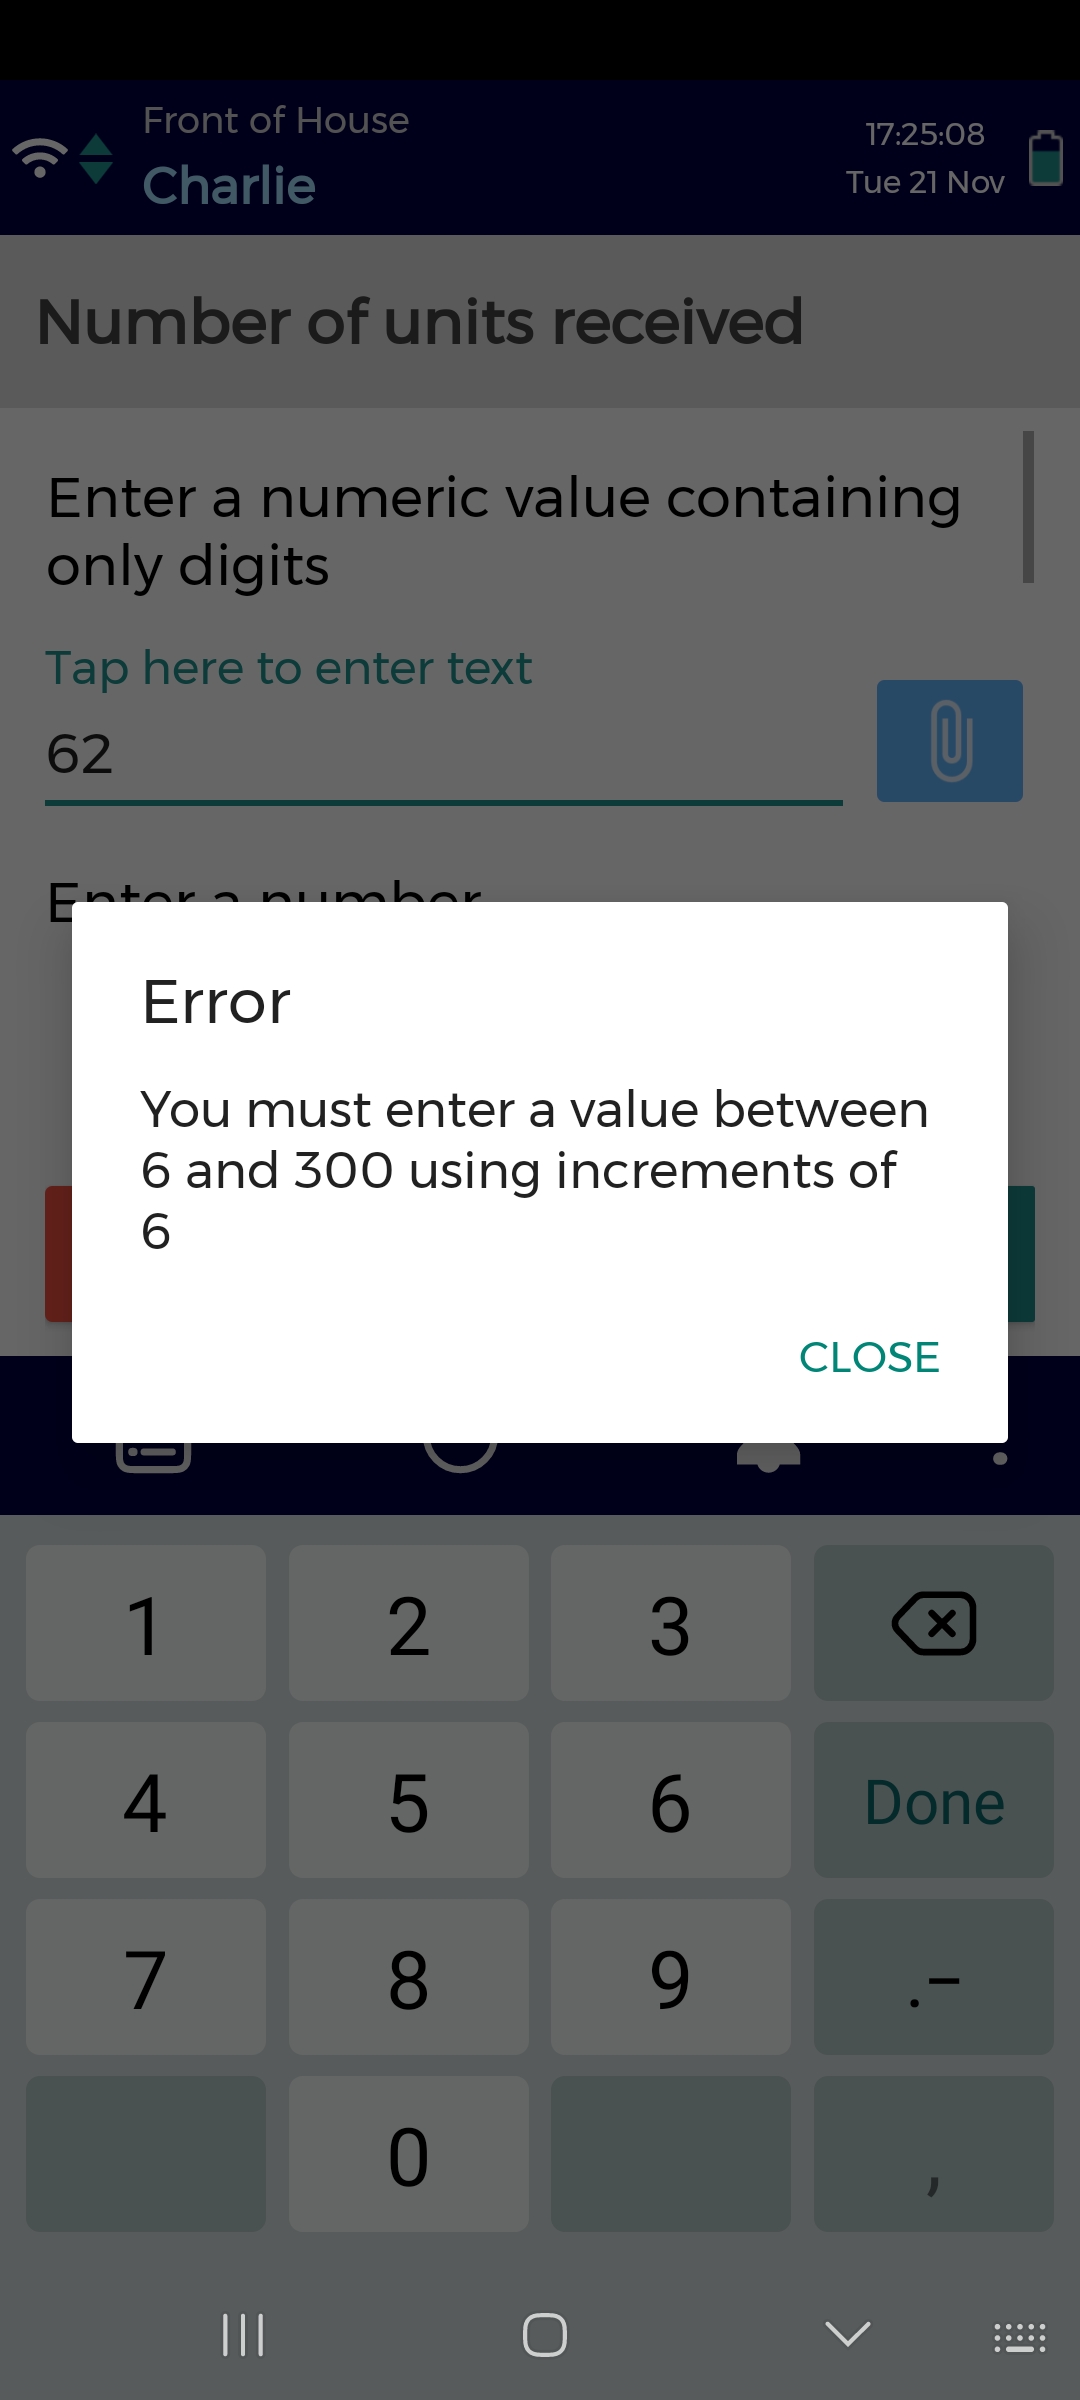
If you enter an incorrect number, you may see an error message (see image 11) which displays:
-
The minimum number you can enter, for example, 6
-
Multiples of which number you can enter, for example, 6: 12,18,24, etc.
-
The maximum number you can enter, for example, 60
If so, tap CLOSE, then enter the correct number.
Date Selector
These checks require you to select a date. See image 12.
When you tap the date field, a calendar will appear. Select a date, then tap OK.
Follow-Up Checks
Your response to a check may trigger a follow-up check if additional action is required. For example, if a check identifies a problem, you may need to type a response explaining the issue. See image 13.