
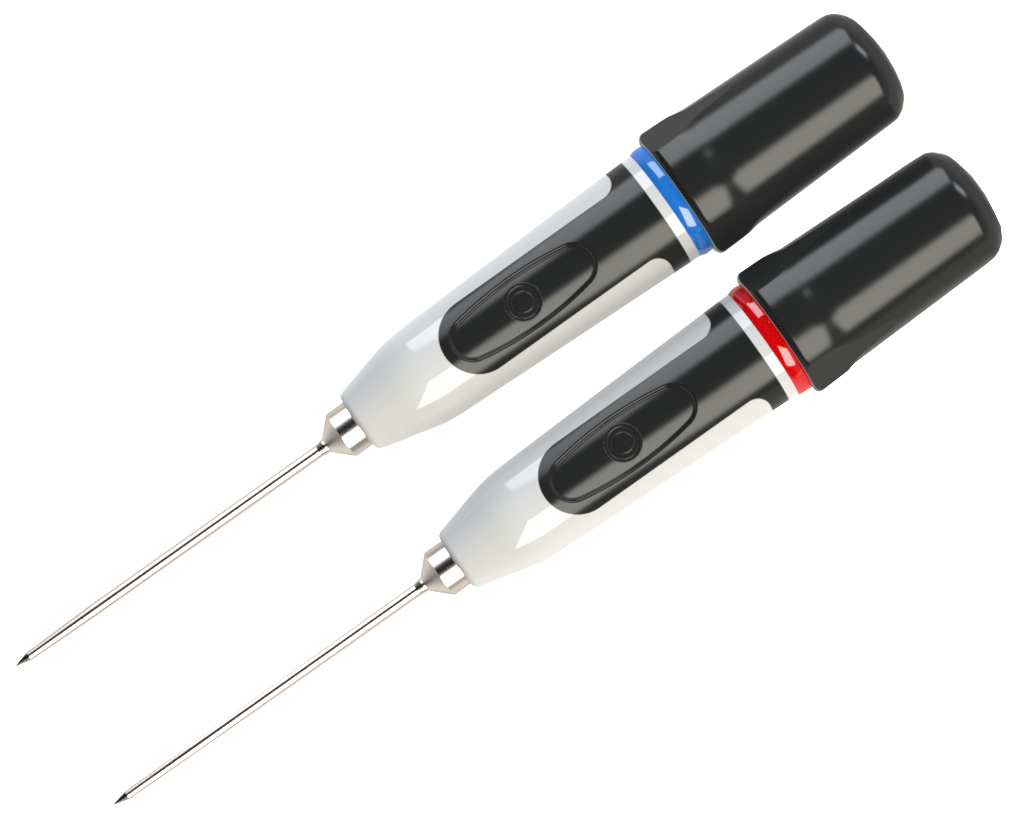
You can take a temperature reading using a Checkit probe when instructed to do so on the Checkit App.
The Checkit Probe tip is sharp. Please take care when handling.
You can only take a temperature reading when completing a temperature check.
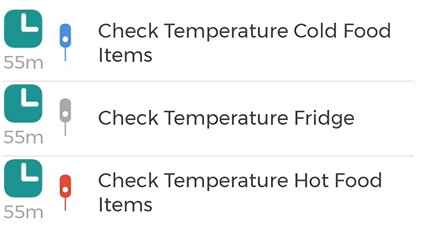
The temperature check will display either a red, blue, or grey probe icon (see image 2). You must use the correct colour probe. If a grey probe icon is displayed, you can use either colour.
If you are using the Checkit App on your own device, ensure that Bluetooth is enabled.
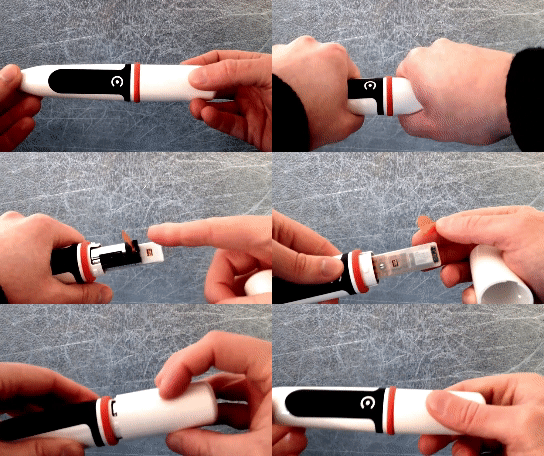
If you are using a Checkit Probe for the first time, please remove the battery isolation tag before use. See image 3.
To complete a temperature check:
-
Open the temperature check.
-
When indicated to do so on the app screen, press the button on the probe once to pair it with your device.
If the probe fails to pair with your device, tap Try again on the app and repeat step 2.
-
Position the probe tip appropriately to take a measurement.
-
Press the button on the probe to view the reading on the app. You have 30 seconds to do so. You will see a message on screen stating whether the temperature is:
-
In range
-
Under range
-
Over range
-
If you do not press the button in time, tap Try again on the app and repeat step 5.
-
When the temperature has stabilised, press the record icon.
-
If you are happy with the reading, tap the accept icon on the app. If not, tap the retake icon to repeat the reading.